
Introduction
In many cases a minimum server or desktop installation on Ubuntu does not include a graphical desktop. Installing the packages needed for the GNOME desktop environment is simple.
Installation
Installation of the gnome desktop packages will take a fair amount of time since there are many files to install. Therefore, the faster your Internet speed the better. See our tools page on detection of your download speed.
To install the desktop environment, simply use the following command:
sudo apt-get install -y ubuntu-gnome-desktop
You will be prompted for root password. (See our page on how to add the user or groups to the system so you do not need a password for sudo.)
Once done, you can reboot the server. When up and running, you should be at the login screen. Login the system and now you should see the gnome desktop environment.
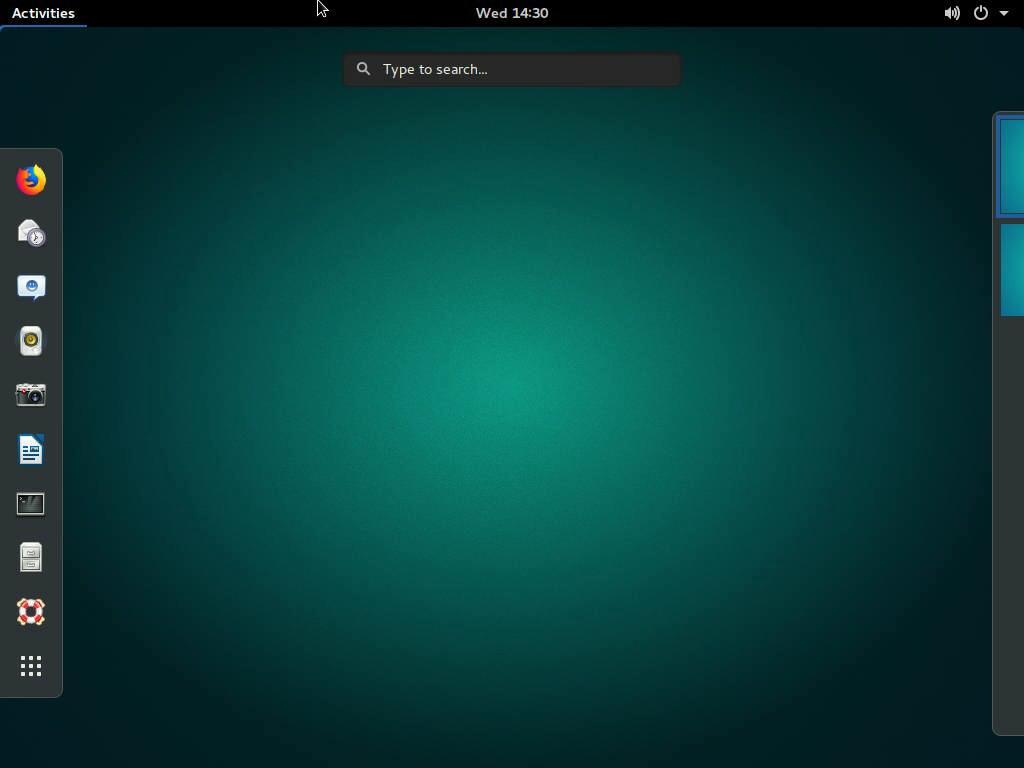
Enter an application name in the search bar to see if that application is installed or run a known installation application. You can pin any application to the launch bar with a drag and drop.
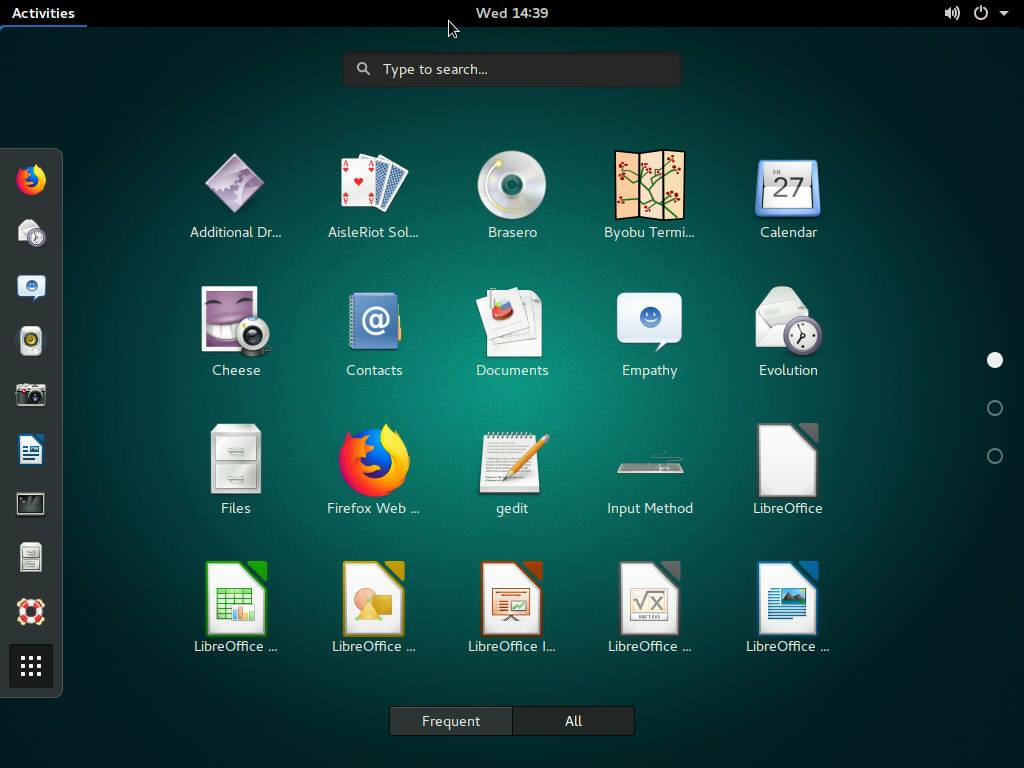
Clicking on Activities on the top-left corner to see launch bar. Click on “Show Applications” icon on the bottom left of the launch bar, to see all the installed apps.
A click in the center date bar shows you all the Notifications and a calendar.
Now, you have have successfully installed GNOME desktop on Ubuntu. To get help simply click on the life preserver ring icon above the “Show Applications” icon on the lower left corner.
![]()